
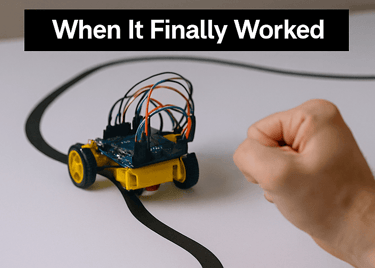
How We Built a Line-Following Robot (and Blew Up 3 Arduinos Doing It)
Why a Line-Following Robot?
If you're learning to code or diving into robotics, someone will eventually say:
“Start by building a line-following robot. It’s simple!”
Spoiler: it's only simple after you blow up three boards, stay up for nights, and rewire more circuits than NASA.
We were just a bunch of students with coding experience—and absolutely no clue how hardware works. But this chaos turned into one of the most fun (and painful) experiences of our lives.
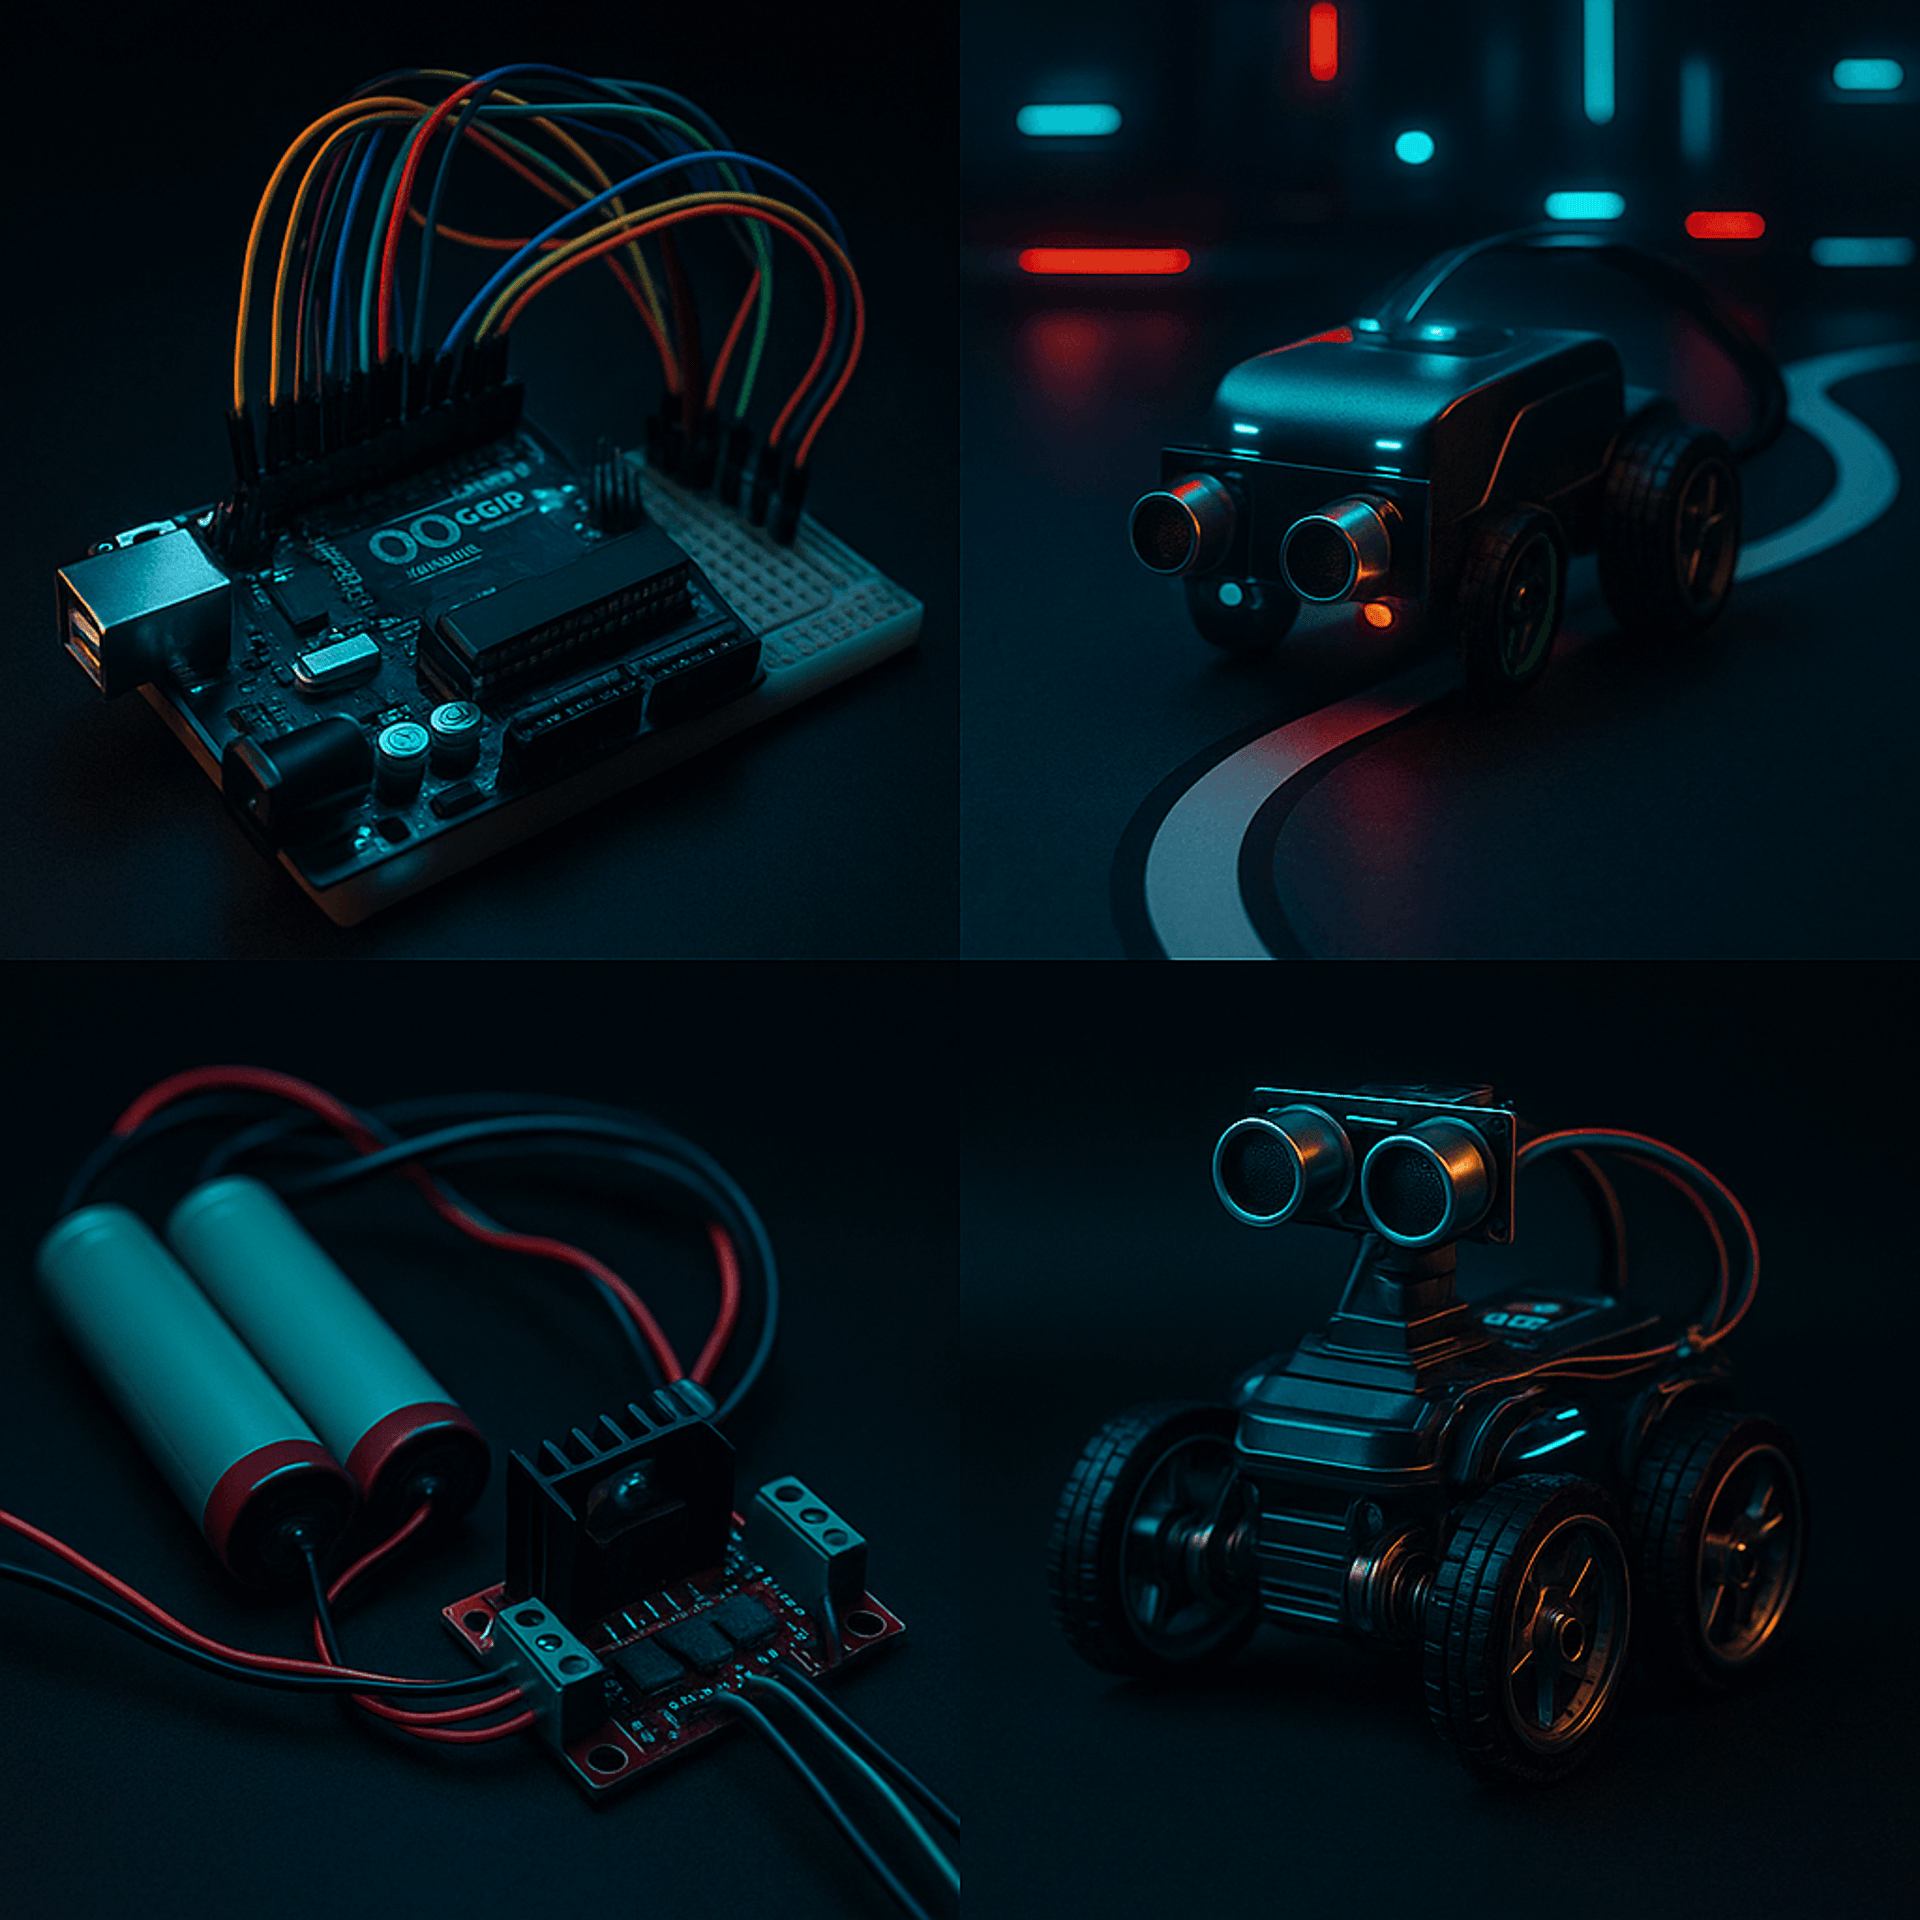
First Attempt: Spaghetti Wiring and Pure Panic
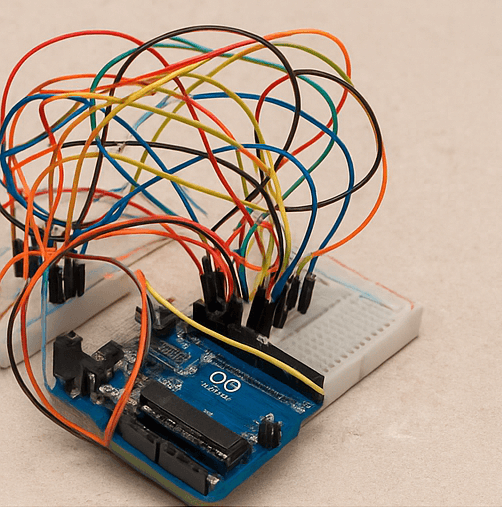
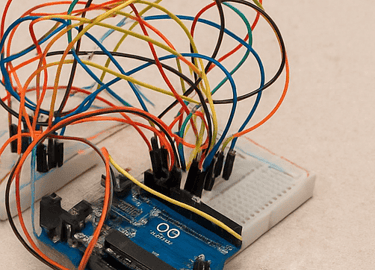
We started with nothing but hope and Google.
Wiring looked like a bowl of noodles
Triple-checking every jumper like we were defusing a bomb
Motors finally spun we screamed
Then we added sensors…
Everything died.
Cue internal screaming.
After days of trial and error (and ChatGPT sessions), we finally got them working. Then came the power struggle…
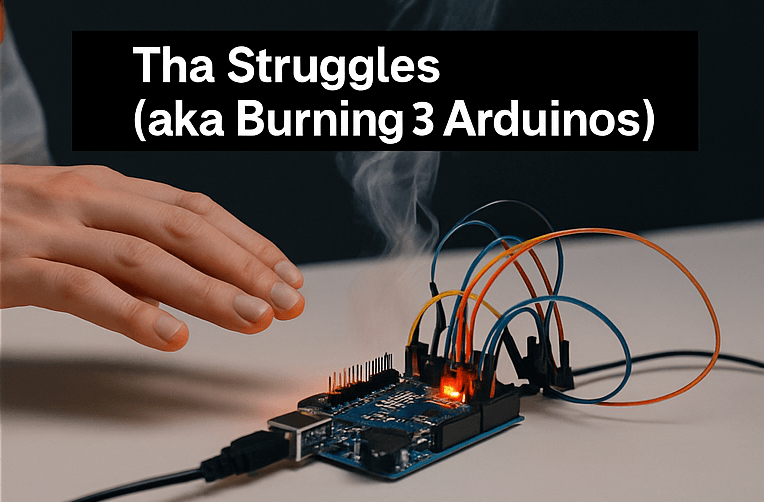
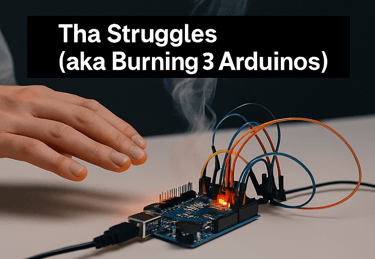
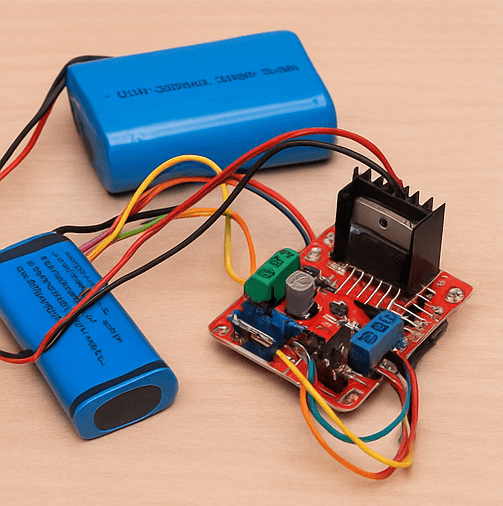
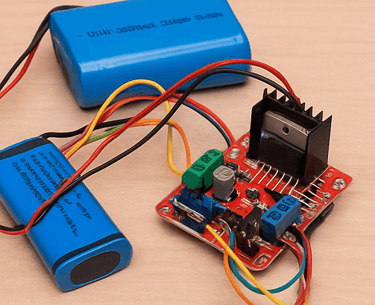
The Battery Bomb & Uno Massacre
We added a fourth battery. Suddenly, the bot sped up it worked!
Until the next day…
Nothing.
Uno #1: Fried by overvoltage
Uno #2: Died mysteriously (probably trauma)
Shield: Partially melted
Uno #3: Survived… for now
Lesson: Don’t overpower your Arduino. Or your hopes.
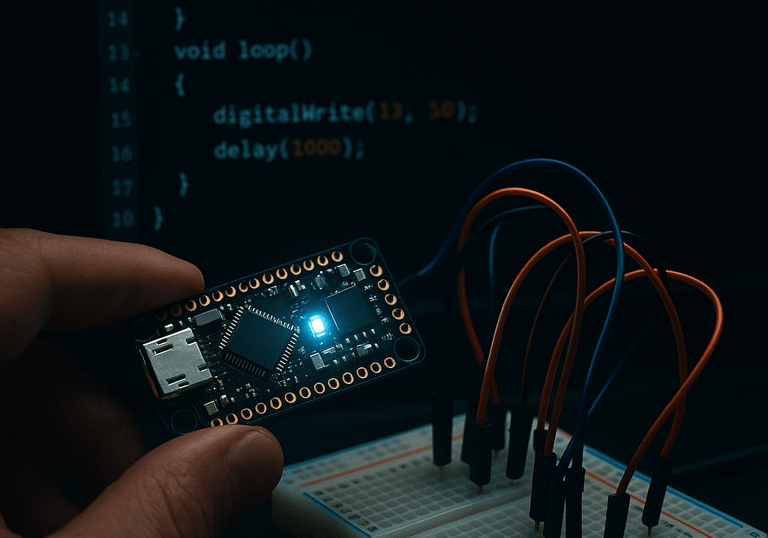
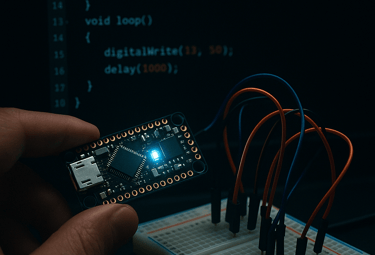
Learning how to structure clean Arduino code really helped:- here’s my step-by-step guide on coding Arduino
The Night Before the Competition
We had:
One last Uno
No shield
A sad little breadboard
And zero backup plans
We literally built our final bot using a breadboard instead of a motor
shield. It looked bad but it worked.
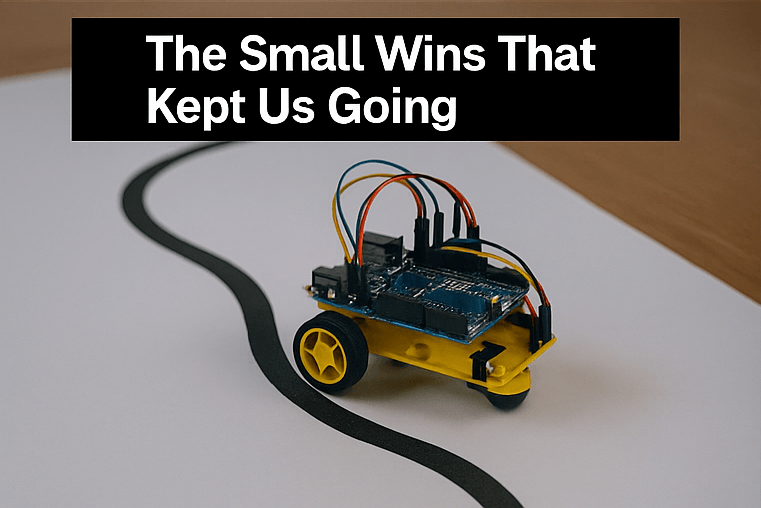
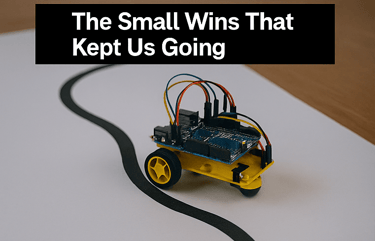
We qualified for Round 2.
Boom. Small win.
Round 2 Twist: Obstacle Avoidance
Then came the curveball obstacle detection using ultrasonic sensors.
We had none.
No code.
No clue.
But shoutout to the teams that didn’t qualify they lent us their components. Like actual angels.
We had 1.5 hours to:
Rewire everything
Mount ultrasonic sensors
Write object detection code from scratch
And somehow, we pulled it off.
Our bot made it through one obstacle. That was enough to enter the race for 3rd place.
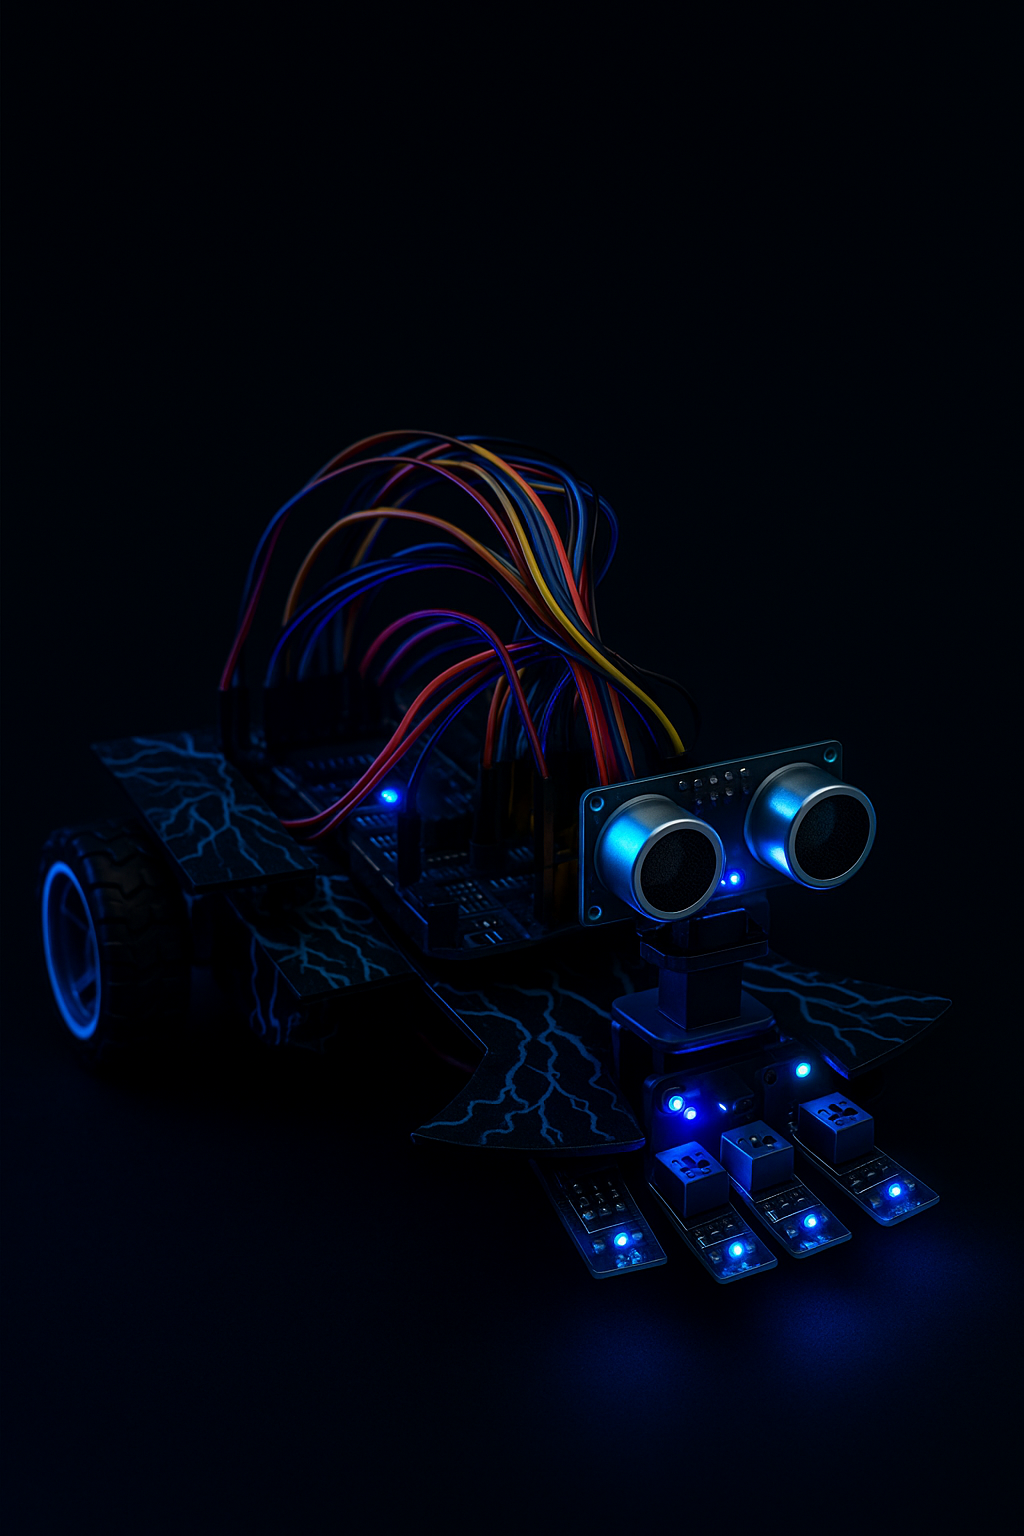
The Final Upgrade: Redemption Arc
With 1 day left, we went full on DIY superheroes:
Used 3 batteries to stay under 12V max
Mounted a servo motor to give the ultrasonic sensor a 270° sweep
Fixed our code no more spaghetti logic
Stayed up all night (again) testing
This time, nothing exploded.
We were ready.
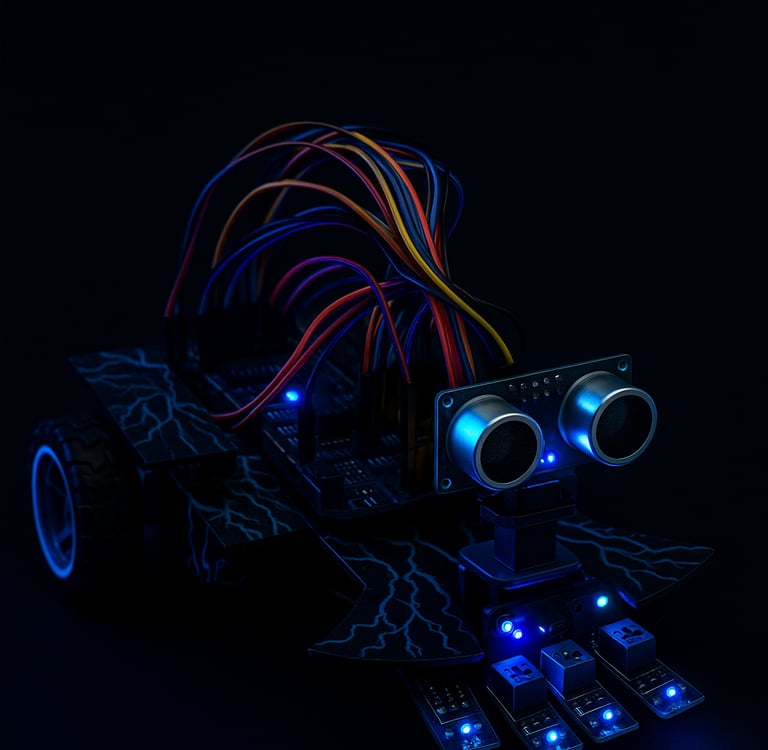
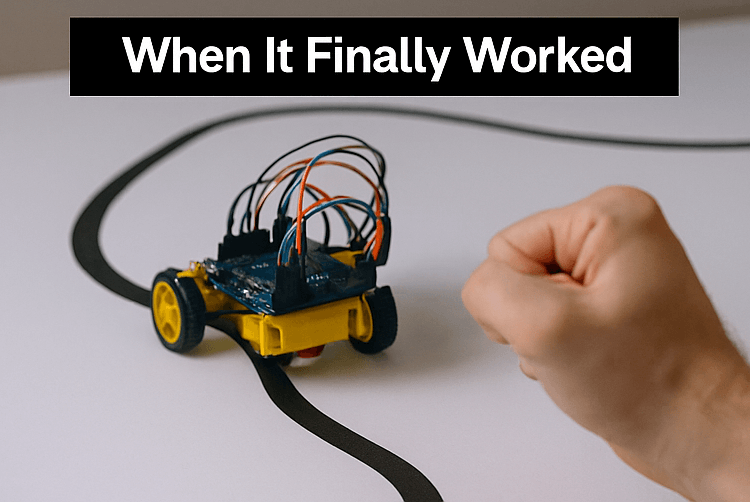
Competition Day: The Comeback
Our bot:
Launched at full speed
Followed the line accurately
Avoided all obstacles
Completed the course like a champ
And the results?
We won 3rd place.
Not because we were perfect.
But because we were stubborn.
What We Learned
Circuits hate assumptions. Never guess voltage limits.
Sensors are drama queens. Treat them with respect.
Power management matters. More voltage ≠ better performance.
Teamwork > tutorials. Shoutout to everyone who helped.
And yes… learning actually happens in the chaos.
Oh, and I almost blew up my laptop.
Just the USB ports, don’t worry they’re fine now. Probably.
Final Thoughts
If you're thinking of building your first robot, do it.
You’ll mess up. You’ll laugh. You might cry.
But the moment something finally works, it all becomes worth it.
“Sometimes, it’s not just about learning.
It’s about living in the moment
With your stupid friends, doing stupid things…
And building something unforgettable.”


Ready to Build Your Own Line-Following Robot?
Don’t just read about it—try it yourself! Grab an Arduino, a few sensors, and start experimenting. You’ll make mistakes (we burned 3 boards ), but that’s where the real learning happens.
👉 Start your first robotics project today and share your journey with us by leaving a review!
more stuff
Explore more of our chaos
How to Code a Microcontroller Chapter 1
Affiliate marketing– A Quick Guide for Students
5 Dark Fantasy Novels That Will Haunt Your Imagination


more stuff
Explore more of our chaos
How to Code a Microcontroller Chapter 1
Affiliate marketing– A Quick Guide for Students
5 Dark Fantasy Novels That Will Haunt Your Imagination
Relax,Feel,Immerse
A blog filled with ancient knowledge .
Connect
© 2025. All rights reserved.